Pets
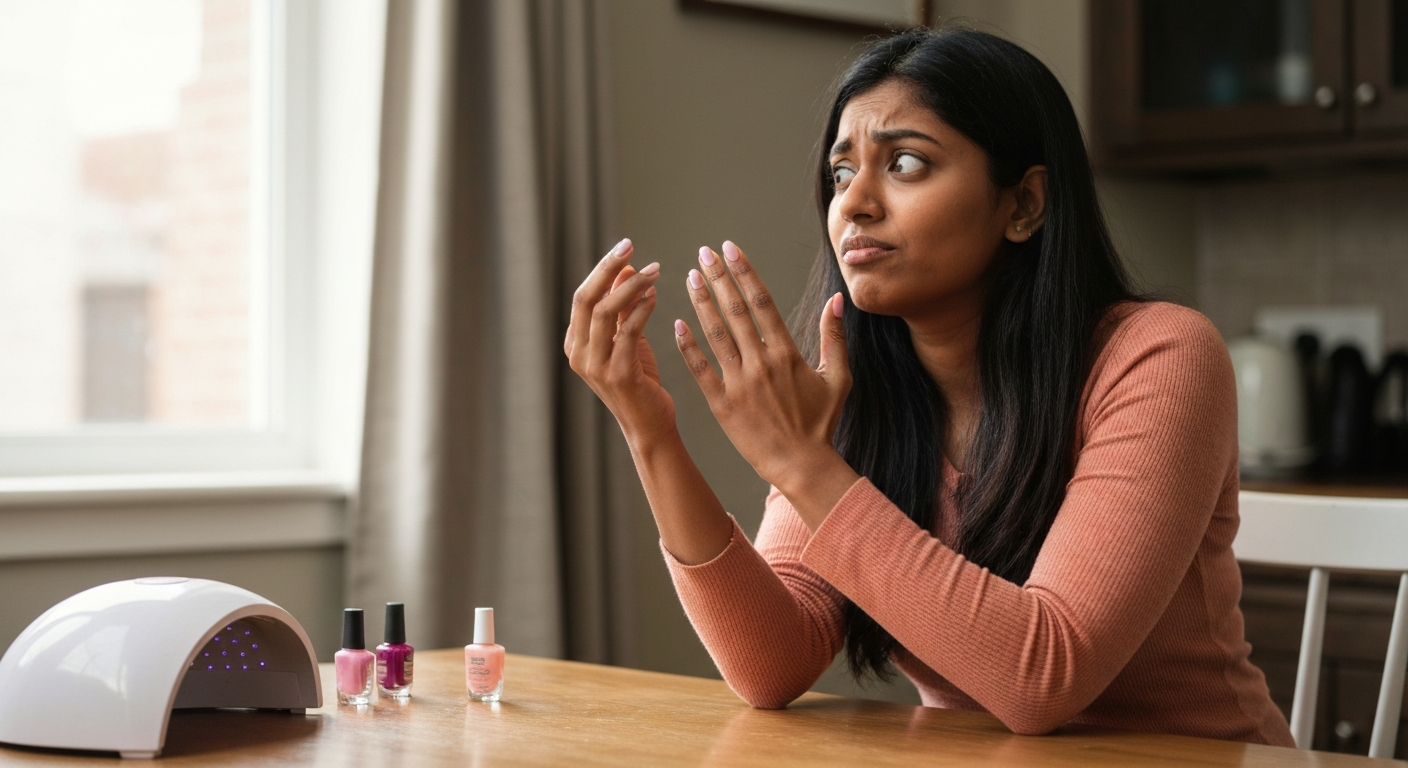

Gel polish wrinkles when layers are applied too thick, when the polish is under-cured, or when products from different brands are mixed — the result is a bumpy, uneven surface that peels prematurely.
Getting that perfect salon-smooth gel manicure at home can feel frustrating when your polish comes out wrinkled, rippled, or textured instead of glossy and flawless. The good news: wrinkling is almost always caused by a handful of fixable mistakes in your application technique or curing process. Once you understand why it happens, you can troubleshoot and prevent it from happening again.
Gel polish wrinkling occurs when the surface of the polish cures before the lower layers have time to harden, creating an uneven texture as the uncured product underneath continues to shrink and shift.
Unlike regular nail polish that air-dries from the outside in, gel polish requires UV or LED light to trigger a chemical reaction called photopolymerization. This reaction hardens the polish layer by layer. When something disrupts this process — whether thick application, insufficient light exposure, or incompatible formulas — the outer surface sets while the inner polish remains soft. As the soft polish eventually cures or shrinks, it pulls the hardened surface into wrinkles and ridges.
Think of it like baking a cake at too high a temperature: the outside burns while the inside stays raw. The same principle applies to gel polish, except instead of heat, you're working with light penetration and chemical reactions.
Applying gel polish too thickly is the most common cause of wrinkling — thick layers prevent UV/LED light from penetrating to the bottom of the polish.
When you glob on a thick coat hoping for more opacity in one pass, the UV or LED light only reaches the top portion of the polish. The surface hardens quickly, but the product closest to your nail bed stays liquid. As you continue wearing the manicure or apply additional coats, this uncured layer shifts, shrinks, and causes the cured surface to wrinkle and lift.
A properly applied gel layer should be translucent enough that you can almost see your nail through it before curing. If your polish looks completely opaque in a single coat, you've applied too much. Most gel polishes are designed to build opacity over two to three thin coats, not one thick one.
Start by wiping excess polish from your brush against the bottle opening. Apply a thin layer starting at the base of your nail (leaving a tiny gap at the cuticle), then stroke toward the tip. Cap the free edge by running the brush along the tip of your nail. The layer should self-level into a smooth film without flooding your cuticles.
| ✓Our Pick |
LED nail lamp with timer for proper gel curing Simple to use and genuinely effective — for many people this is all they ever needed. See on Amazon → |
An underpowered, outdated, or incompatible UV/LED lamp won't deliver enough energy to fully cure your gel polish, leading to soft layers that wrinkle and peel.
Not all lamps are created equal. Gel polishes are formulated to cure at specific wavelengths — typically 365nm for UV lamps and 405nm for LED lamps. If your lamp doesn't match your polish's requirements, or if the bulbs have degraded over time, your polish won't harden properly.
Most home gel manicure kits come with lamps in the 6W to 24W range, but professional-grade results typically require 36W to 48W lamps. Lower-wattage lamps may still cure polish eventually, but they take longer and often leave the base layers partially soft.
"Insufficient curing time or wattage is a primary cause of gel polish failure, including wrinkling, peeling, and softness." — Doug Schoon, nail industry scientist and author of Nail Structure and Product Chemistry
Yes. LED lamps cure faster (30–60 seconds per coat) but only work with LED-compatible gel polishes. UV lamps work with most gel formulas but require longer cure times (2–3 minutes per coat). Using an LED lamp with a UV-only gel — or vice versa — can result in incomplete curing and wrinkling.
Check your gel polish bottle for curing instructions. Most modern gel polishes are "LED/UV compatible," meaning they work with both lamp types, but cure times will differ.
Layering gel polishes, base coats, or top coats from different brands can cause chemical incompatibility, leading to wrinkling, lifting, and poor adhesion.
Each gel polish brand formulates its products to work as a system. The base coat, color, and top coat are designed to bond chemically and cure at the same wavelength. When you mix brands — say, using a cheap base coat with a premium gel color — the layers may not adhere properly, and different cure requirements can leave some layers soft while others harden.
Incompatible layers can't bond at the molecular level. The top coat may cure into a hard shell while the color layer underneath stays tacky. This creates tension between layers, causing the surface to wrinkle, shrink, or even peel off entirely within days.
For best results, use base coat, color, and top coat from the same brand. If you must mix brands, test the combination on one nail first and wait a few days to see how it wears before committing to a full manicure.
Skipping nail preparation — especially dehydration and buffing — leaves oils and moisture on the nail plate that prevent gel polish from bonding properly.
Your natural nails produce oils that create a slippery barrier. If you apply gel polish directly over this oil layer, the product can't grip the nail surface. The result is lifting, bubbling, and wrinkling as the polish separates from the nail bed.
| Step | What It Does | Time Required |
|---|---|---|
| Push back cuticles | Removes dead skin that causes lifting | 2 minutes |
| Lightly buff nail surface | Creates texture for polish adhesion | 1 minute per hand |
| Wipe with alcohol or cleanser | Removes oil, dust, and moisture | 30 seconds |
| Apply dehydrator | Evaporates remaining moisture | 30 seconds |
| Apply primer (optional) | Creates chemical bond with gel | 30 seconds |
Skipping even one of these steps can compromise your manicure. The buffing step is particularly important — you're not trying to file down your nail, just lightly roughen the surface so the gel has something to grip.
Also Read: Why Is My House So Dry? 7 Causes & How to Fix It
Expired or improperly stored gel polish becomes thick, stringy, and difficult to apply in thin, even layers — all of which contribute to wrinkling.
Gel polish doesn't last forever. Most formulas have a shelf life of 18–24 months once opened. Over time, the photoinitiators (the chemicals that react with UV/LED light) degrade, making the polish harder to cure. The consistency also changes, becoming thick and gloopy.
Keep bottles tightly closed, stored upright, away from direct sunlight, and at room temperature. Never store gel polish in a hot car or near windows — UV exposure can partially cure the polish inside the bottle, making it unusable.
Under-curing — removing your nails from the lamp too early — leaves soft polish that wrinkles, dents, and peels within days.
It's tempting to speed through your manicure, but cutting cure times short is a recipe for wrinkling. Each layer needs full exposure to fully harden. If you pull your hand out 10 seconds early, the bottom of that layer may still be liquid.
| Lamp Type | Wattage | Base Coat | Color (per coat) | Top Coat |
|---|---|---|---|---|
| LED | 48W | 30 seconds | 30–60 seconds | 30–60 seconds |
| LED | 24W | 60 seconds | 60 seconds | 60 seconds |
| UV | 36W | 2 minutes | 2 minutes | 2 minutes |
These are general guidelines — always check your specific polish brand's instructions. When in doubt, cure longer rather than shorter. An extra 15 seconds won't damage your polish, but cutting time short definitely will.
"Proper cure time is non-negotiable. Under-cured gel isn't just prone to wrinkling — it can also cause skin sensitivity reactions." — CND Education, professional nail brand
If your gel polish wrinkles mid-manicure, you'll need to remove that layer completely and reapply — there's no way to smooth out a wrinkled coat once it's cured.
Unfortunately, you can't simply buff out wrinkles or add another layer on top. The damage is structural. Here's what to do:
If you notice wrinkling immediately after curing: Use a lint-free wipe soaked in alcohol to remove the tacky layer, then gently file off the wrinkled coat. Reapply a thinner layer and cure again.
If the wrinkle appears after your full manicure: You'll need to soak off or file off the entire polish from that nail and start over.
To prevent it next time: Apply thinner coats, check your lamp wattage, and make sure you're curing each layer for the full recommended time.
Gel polish wrinkling happens when layers are too thick, the lamp is too weak, products are incompatible, or cure times are cut short. Always apply thin coats, use a proper LED/UV lamp matched to your polish brand, prep your nails thoroughly, and cure each layer for the full recommended time. If wrinkling occurs, remove that layer and reapply — you can't smooth it out after curing.
Bubbles form when air gets trapped under the polish during application, often from shaking the bottle vigorously or applying polish too quickly. Unlike wrinkling (which is a curing issue), bubbling is an application technique problem. Roll the bottle gently between your palms instead of shaking, and apply polish in slow, deliberate strokes.
High humidity can affect how gel polish bonds to your nail plate, but it's more likely to cause lifting or peeling than wrinkling. If you live in a humid climate, make sure your nail prep includes a dehydrator step to remove excess moisture before applying your base coat.
This usually means that specific nail received a thicker application or wasn't positioned correctly under the lamp during curing. Nails on the edges of your hand (pinky and thumb) are often angled away from the light source, leading to uneven curing. Make sure all nails are flat and facing the bulbs.
Fully cured gel polish feels completely hard with no soft spots when you press on it. The tacky layer on top (called the inhibition layer) is normal and gets wiped off with alcohol at the end — don't mistake tackiness for under-curing. If the polish dents when pressed, it's not fully cured.
A base coat improves adhesion and creates a smooth foundation, but it won't prevent wrinkling caused by thick application or under-curing. Base coat is essential for longevity and protecting your natural nails, but proper technique across all layers is what prevents wrinkling.
Reviewed and Updated on May 27, 2026 by George Wright